My new waste board and other upgrades

Edited with updates from farther down the thread.

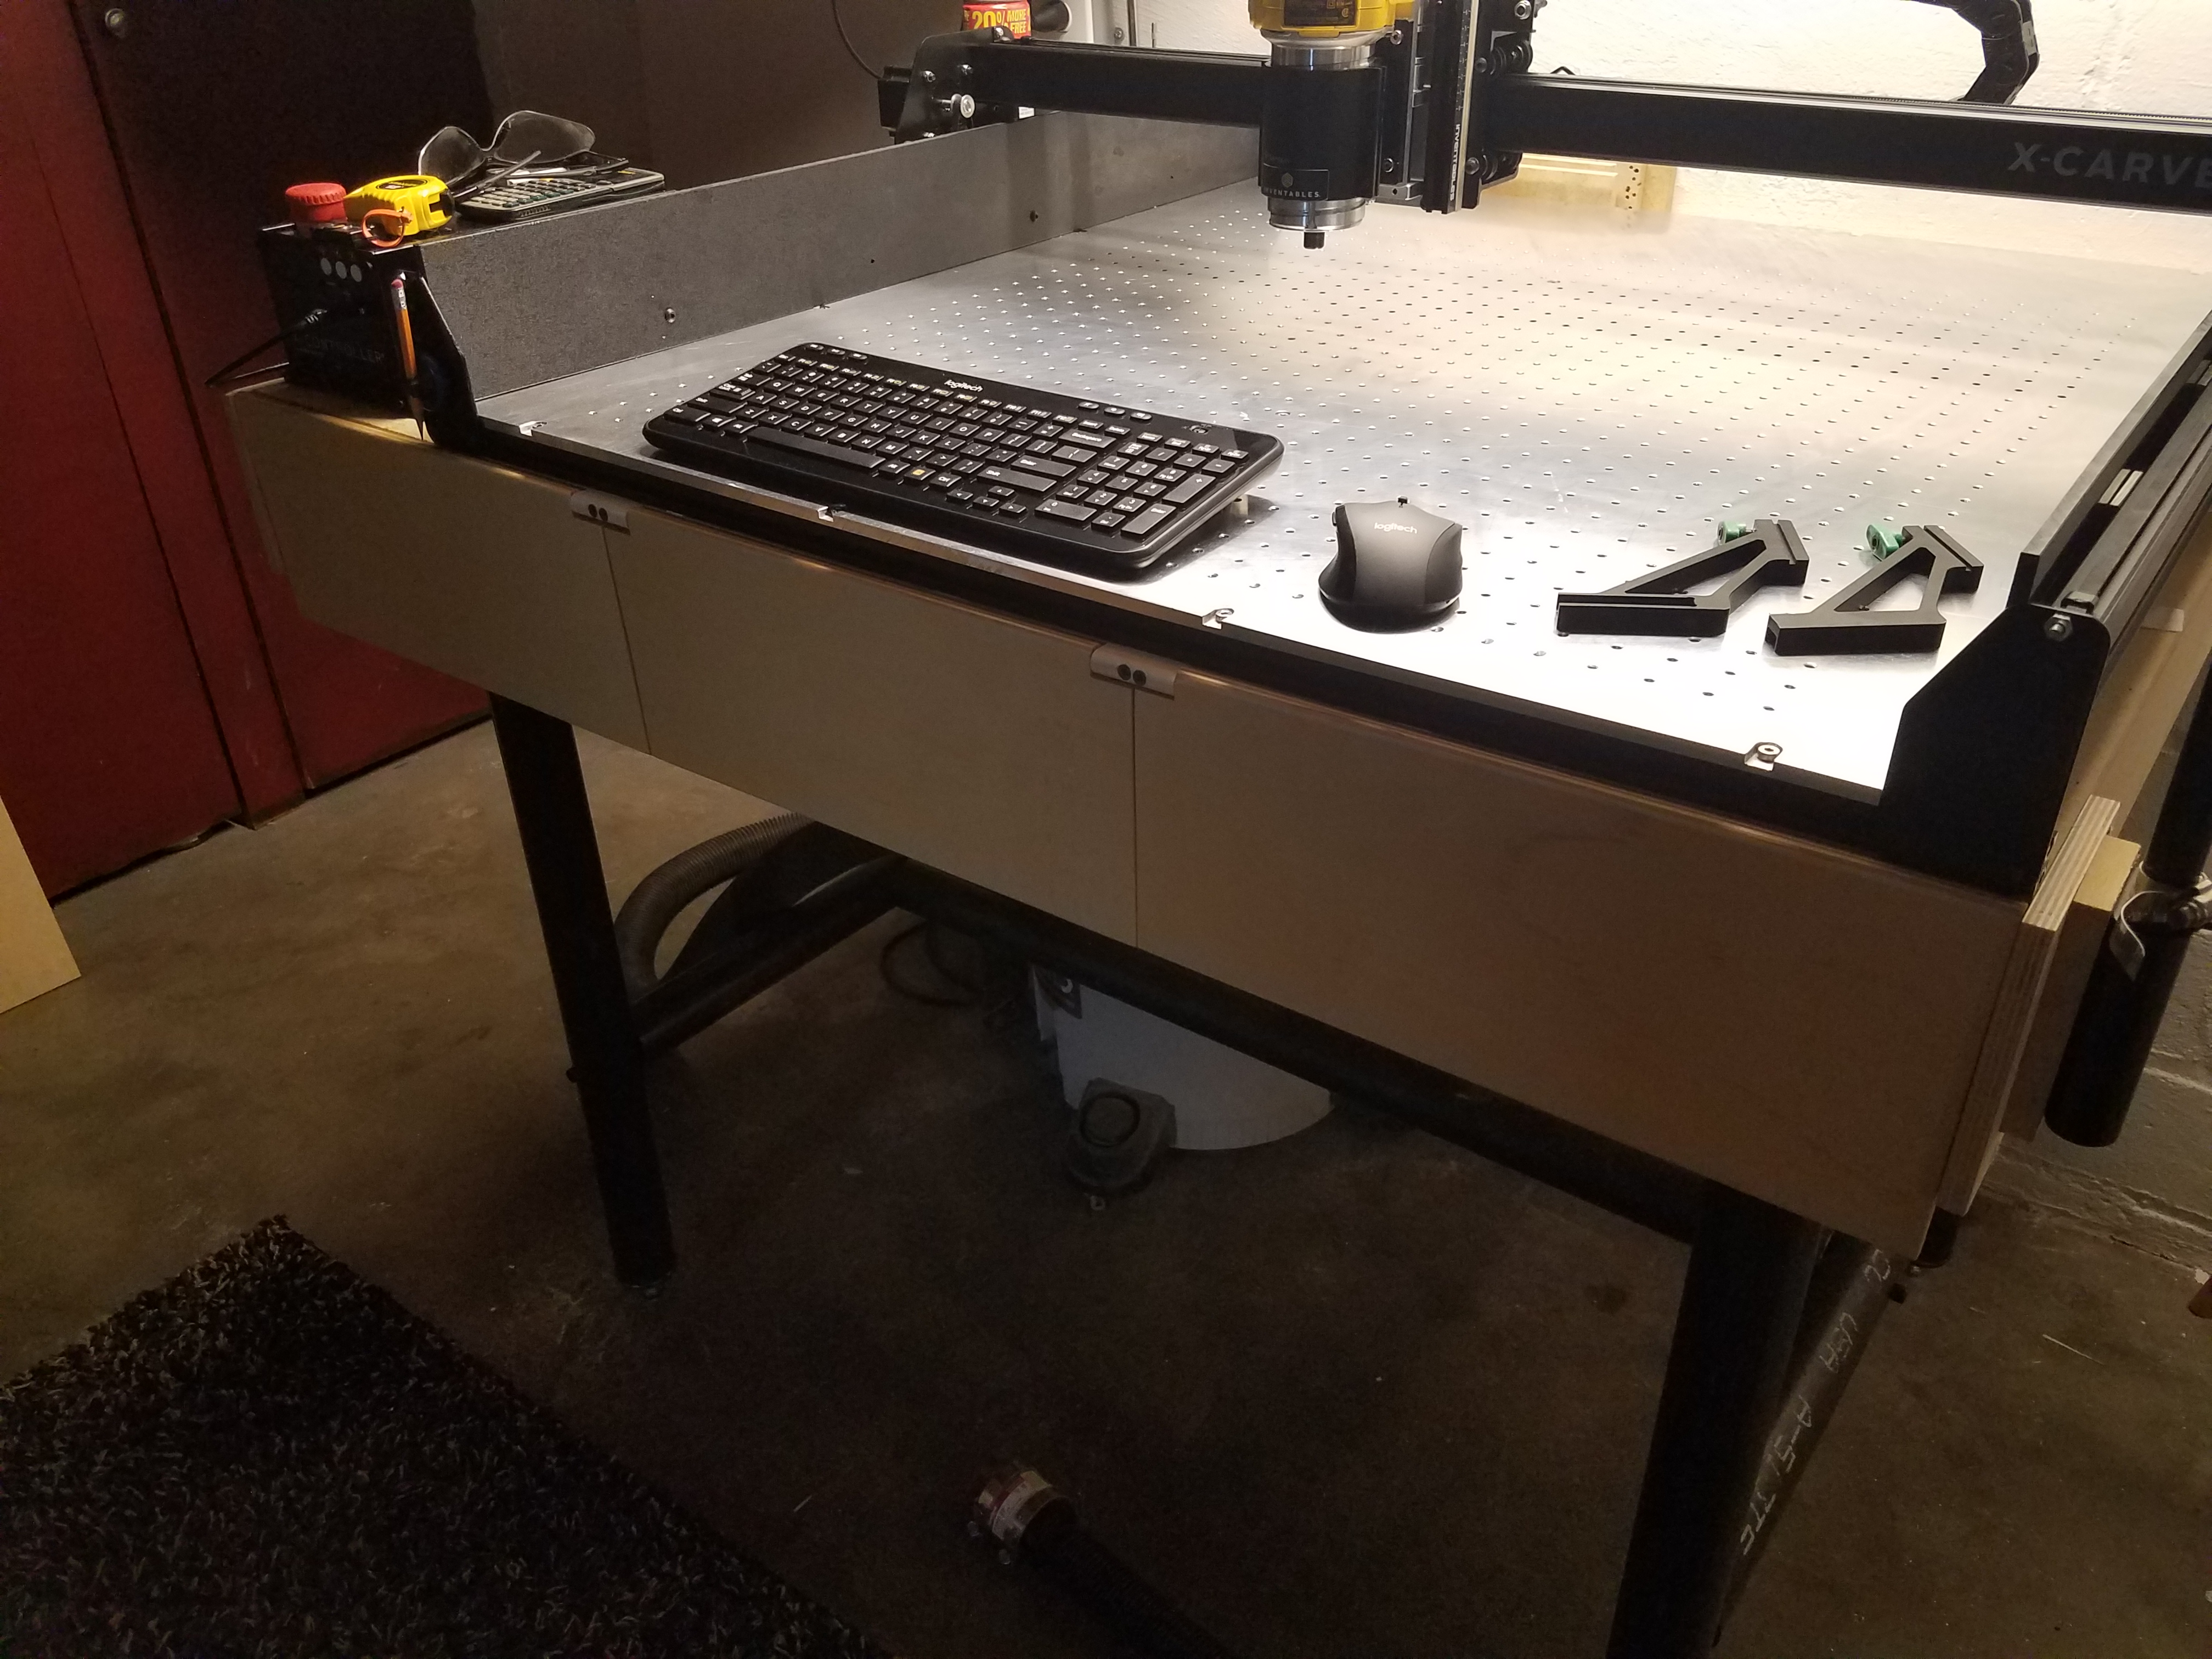
So, with some help from some other friendly people. I was able to start my new waste board project! I went with mic6 aluminum plate, .313 thick. I layed out, drilled, and actually used a router with a bushing and jig to get the mounting holes on the perimeter. With that, I used the CNC itself to spot drill my hole layout. I went with a 1" spacing with a 31x31 row pattern. Making only 961 holes to drill and tap… What did I get myself in to… Haha

New Z axis upgrade from cnc4newbie, utilizing the inventables dust collector brackets.

Collapsible keyboard and mouse shelf utilizing the existing drawers.

Engraved shelves!

Mist coolant upgrade!
【The Best Deal】OriGlam… OriGlam Mist Coolant Lubrication Spray System for Metal Cutting Engraving Cooling Sprayer Machine for Air Pipe CNC Lathe Milling Drill - Amazon.com

11 Likes

Tap away. But make sure you have a few spare taps, a bit of lube and a drill to make it easier.
This helps too:


New toy to help me process a few hundred of:

5 Likes

Nice. Yea, I’m a machinist, so I think I can get through all the holes on 1 tap… Knock on wood… Or metal… Haha

1 Like

I’m curious what that Mic-6 plate ended up costing you. I can’t seem to find it for a reasonable price around my parts.

and I do not envy that tapping session, lol.

Yea, wasn’t cheap. I ordered it through work and had to have it shipped. Was still cheaper then a local place that has it. It was a little over 200.00. I could have gone with .25 thick, and it was like 170 shipped. But I wanted the extra thickness for stability and for the threaded holes. Let the drilling and tapping begin!

2 Likes

nice jig, absolutely essential. It’s always a pita to tap small threads since you have to be so careful with the small tap. I love tapping 3/8" and larger (and honestly do my best to avoid anything less) just so I can use power tools.

That jig is epic. Three thumbs up. (Provided the holes are straight).
$200 is still cheaper than what the Misumi cost me.

lol, wow. I’m curious what exactly you were doing drilling holes in piano wire! :slight_smile:

sounds like you needed a jig!

lol I have done exactly that many times!

I saw landing gear. Instant interest. Must see a post from you @AngusMcleod

Yea! What the heck! Haha… No worries!

1 Like

Yea, I had considered the misumi t track. But I wanted to stick with tapped holes. Wanted to have the combination of either hold down clamps or cam style. With a 1" grid, I shouldn’t have any issues with clamping any size pieces.

so, how far have you made it?

With a cam you can just add spacers. I use low profile cam clamps for quick setups.

Didn’t have a lot of time today. Went to the cabin for the weekend. Got 5 rows drilled, and 2 of those tapped. 31 holes per row… Man there’s a lot of holes… Haha

Dang… Got all 961 holes drilled! And 5 rows tapped… Holy cow what did I get my self into! Lol! I’ll pace myself the rest of the week for tapping the rest. That’s the time consuming part… Although drilling took quite awhile.

2 Likes

boy, it sure is pretty though.

Were did you get those 8 Y axis side plates

I made them. Pretty simple. Ordered 2" wide Flat stock, .160 thick from McMaster Carr. Cut to length and drilled the 4 holes.

P/N 89015K252

Soooo…when will you skim that beauty? :rofl: